Iron On Patches: Easy DIY Custom Patches for Quick Wardrobe Upgrades
Everyone loves a quick, easy way to refresh their wardrobe without spending a lot of time or money — and iron on patches are the ultimate DIY solution. Whether you’re a craft beginner or a seasoned DIY enthusiast, iron on patches let you repair, personalize and upgrade your clothes, backpacks and gear in minutes, no sewing skills required.
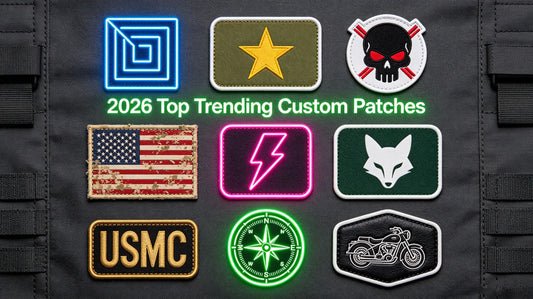
The beauty of iron on patches lies in their simplicity: just heat, press and go. They adhere firmly to most fabrics, from denim and cotton to fleece and canvas, making them perfect for daily wear, outdoor gear and even kids’ clothes. Available in endless designs, colors and sizes, they let you add a personal touch to plain items, cover stains or holes, and create unique looks that reflect your style.
For anyone looking to simplify their DIY wardrobe upgrades, easy iron on patches are a game-changer. They eliminate the need for needles, thread and complicated sewing, making customization accessible to everyone. Whether you’re sprucing up an old jacket, repairing a favorite pair of jeans, or adding flair to a backpack, iron on patches make the process quick and enjoyable.

How to Apply Iron On Patches (Step-by-Step Guide)
-
Prepare Your Item: Wash and dry the fabric to remove any dirt, oil or wrinkles — this ensures the patch adheres properly. Lay the item flat on a hard, heat-resistant surface (like an ironing board).
-
Position the Patch: Place the patch on the desired spot, adhesive side down (the side with the shiny or matte film). Use pins to hold it in place if needed, especially for larger patches.
-
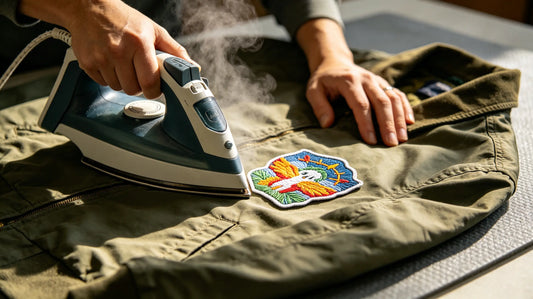
Heat the Iron: Set your household iron to the cotton or medium heat setting, and turn off the steam (steam can prevent the adhesive from melting properly).
-
Press Firmly: Place a thin cotton cloth over the patch (to protect the patch and fabric from direct heat), then press the iron firmly on the patch for 20–30 seconds. Apply even pressure to ensure full adhesion.
-
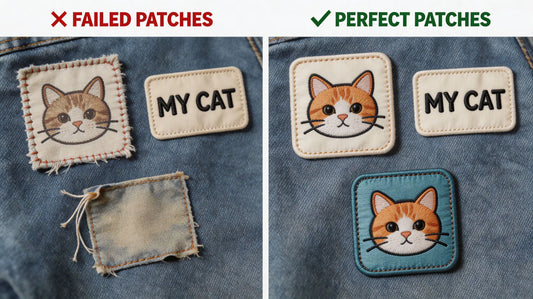
Cool & Test: Let the patch cool completely (about 5–10 minutes) before touching it. Gently tug the edges of the patch to make sure it’s securely attached. If it lifts, press it again with the iron for a few more seconds.

Best Fabrics for Iron On Patches
-
Cotton & Denim: The most compatible fabrics — iron on patches adhere perfectly and hold up to frequent washes.
-
Fleece & Sweatshirt Material: Works great, but use a lower heat setting to avoid melting the fabric.
-
Canvas & Linen: Durable fabrics that pair well with iron on patches, ideal for backpacks and tote bags.
-
Polyester Blends: Use a low heat setting to prevent fabric damage; test a small area first.
-
Avoid: Silk, satin, leather or delicate fabrics (heat can damage these materials).
Top Uses for Iron On Patches (Daily DIY Scenarios)
1. Wardrobe Repairs
Cover small holes, knee rips, elbow wear and stains on jeans, hoodies, t-shirts and jackets. Iron on patches are a quick fix that extends the life of your favorite clothes, saving you money and reducing waste. For durable repair options, browse iron on repair patches designed for daily wear.
2. Wardrobe Upgrades
Turn plain, boring clothes into statement pieces by adding iron on patches. Add a small emblem to a t-shirt, a bold design to a denim jacket, or a fun patch to a hoodie — the possibilities are endless.
3. Personalization
Custom iron on patches let you add your name, initials, favorite quotes or designs to clothes and gear. Perfect for personalizing backpacks, hats, jackets and even kids’ school items.
4. Kids’ Clothes & Gear
Iron on patches are easy to apply and fun for kids to customize their clothes, backpacks and lunch boxes. Choose cute, playful designs that let their personality shine, and rely on kid-friendly iron on patches with safe, soft materials.
5. DIY Gifts
Create thoughtful, personalized gifts by adding iron on patches to a jacket, tote bag or stuffed animal. It’s a simple way to make a gift feel unique and heartfelt, without spending hours crafting.

Pro Tips for Using Iron On Patches (Avoid Common Mistakes)
-
Always turn off the steam on your iron — steam can weaken the adhesive and prevent the patch from sticking.
-
Use a thin cotton cloth between the iron and the patch to protect both the patch and the fabric from heat damage.
-
Don’t rush the pressing process — hold the iron firmly for the recommended time to ensure full adhesion.
-
Wash the item inside out after applying the patch to keep it securely attached for longer.
-
For extra durability, add a few stitches around the edges of the patch (optional, but great for frequently worn items).
Popular Iron On Patch Designs for Daily Use
-
Minimalist emblems and small logos (perfect for subtle upgrades).
-
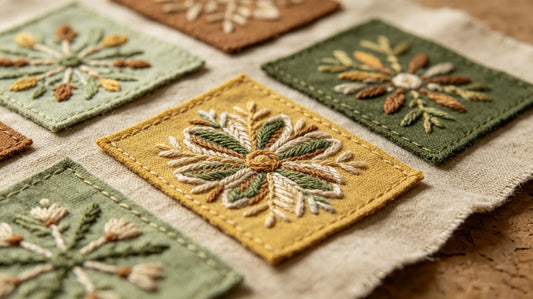
Vintage and retro designs (great for denim jackets and hoodies).
-
Cartoon and playful designs (ideal for kids’ clothes and backpacks).
-
Custom name or initial patches (for personalization).
-
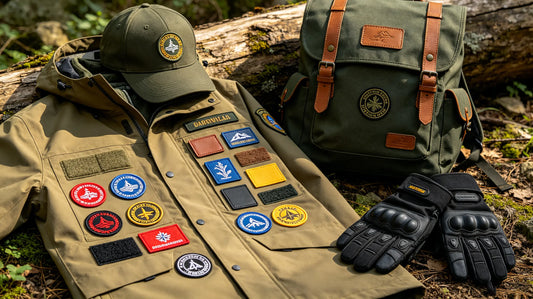
Nature and outdoor themes (perfect for outdoor gear and jackets).

Final Thoughts
Iron on patches are the easiest way to DIY your wardrobe, offering quick repairs, stylish upgrades and endless personalization options. No sewing skills required, they’re accessible to everyone — from craft beginners to busy parents and fashion enthusiasts.
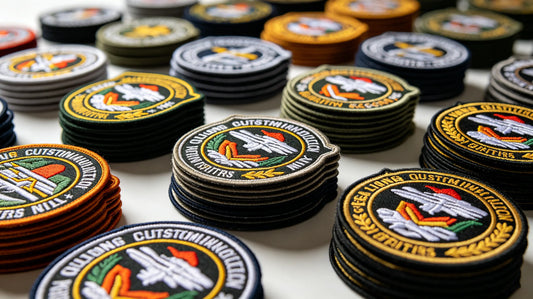
Whether you’re looking to repair a favorite item, refresh a plain jacket, or create a personalized gift, custom iron on patches have you covered. With a wide range of designs, materials and sizes, you can find the perfect patch to match your style and bring new life to your clothes and gear.

FAQ
Q: How long do iron on patches stay attached?
A: With proper application, iron on patches stay attached for months of regular washes and daily wear. For extra durability, you can add a few stitches around the edges. Explore long-lasting options in our iron on patch collection.
Q: Can I remove iron on patches if I change my mind?
A: Yes, you can remove iron on patches by applying heat with an iron and gently peeling them off. Use a cotton cloth to protect the fabric, and go slowly to avoid damaging the item.
Q: Will iron on patches damage my clothes?
A: No, as long as you use the correct heat setting for your fabric and place a thin cloth between the iron and the patch. Avoid high heat on delicate fabrics like polyester or silk.
Q: Can I use iron on patches on backpacks or tote bags?
A: Absolutely! Iron on patches work great on canvas, denim and cotton backpacks, tote bags and other gear. They’re durable enough to withstand daily use and occasional washes. Check out gear-friendly iron on patches for these items.
Tags:
Previous
Custom Name Patches: Personalized Embroidered Patches for Clothes & Gear
Next
Custom Embroidered Patches: Premium Stitched Patches for Every Style & Need