Iron‑On vs Sew‑On vs Velcro Patches | Backing Types, Pros Cons & Best Installation Guide
Most patch falling‑off, peeling and durability problems are not caused by poor patch quality, but by wrong backing selection. Every custom patch supports three mainstream backing options: iron‑on heat glue backing, traditional sew‑on blank backing, and reusable Velcro hook backing. Each backing has unique installation difficulty, washing resistance, service life and applicable scenarios.
Many customers blindly choose iron‑on backing for all clothing, resulting in peeling after washing; or select Velcro for formal uniforms, causing unprofessional styling. This professional backing comparison guide fully analyzes the core advantages, limitations, installation methods and matching scenarios of the three backings, helping you select the most suitable solution for long‑term use.
Custom 3D embroidered patches provides three backing options. Our team recommends proper backing based on fabric type, washing frequency and usage environment to maximize service life of your custom patches.

Part 1: Working Principle for Each Backing Type
1. Iron‑On Hot‑Melt Backing
A layer of hot‑melt adhesive is coated on the reverse side of patches. After heating by household iron or heat‑press machine, glue melts and bonds tightly with fabric fibers. Once cooled down, the patch sticks firmly on garments. No sewing work required.
2. Sew‑On Blank Backing
There is no adhesive layer on the back, only original base fabric. Users fix patches by hand‑sewing or industrial machine‑sewing along patch borders. The stitching connects patches and fabrics physically without relying on glue.
3. Velcro Hook‑and‑Loop Backing
One side of Velcro (hook side) is firmly attached to patches. The loop side is sewn onto clothes, vests or backpacks. The two parts attach together and users can take off or re‑attach patches anytime.
Part 2: Pros and Cons Detailed Comparison
1. Iron‑On Backing
Advantages
- Simple installation without sewing skills.
- Flat surface after application without raised stitches.
- Lower additional cost compared with Velcro.
- Suitable for hats, backpacks and casual clothes with low‑frequency washing.
Disadvantages
- Glue gradually fails after repeated washing, hot‑water cleaning or dryer use.
- Poor adhesion on thick waterproof fabric, nylon and leather materials.
- Non‑reusable. Once peeled off, it cannot be re‑attached again.
- PVC patches often have weak sticking effect with iron‑on glue.
2. Sew‑On Backing
Advantages
- The most permanent and reliable fixation method, no risk of peeling.
- Tolerates cold‑water washing, machine washing and long‑time outdoor exposure.
- Works well for all fabric types including denim, canvas, leather and thick jackets.
- No chemical glue so it is skin‑friendly for long‑term wearing.
Disadvantages
- Hand‑sewing takes time and requires basic sewing skills.
- Machine sewing is needed for bulk uniform projects.
- Visible stitching lines on edges if sewing work is not neat.
3. Velcro Backing
Advantages
- Fully detachable and reusable. You can change different patches freely.
- Easy to take patches off before putting clothes into washing machines.
- Strong adhesive force and stable performance for outdoor tactical equipment.
- Ideal for collectors who like to switch patch styles frequently.
Disadvantages
- Extra cost for Velcro material increases total order budget.
- Hook side collects lint and hair over time and needs regular cleaning.
- Velcro looks too casual for formal corporate or school uniforms.
- Large‑size patches need full‑covered Velcro to avoid partial sagging.

Part 3: Installation Step‑by‑Step Instructions
1. How to Install Iron‑On Patches
- Lay clothes flat and iron fabric to remove wrinkles completely.
- Put patches with printed side facing up. Place a thin cotton cloth over the patch surface.
- Set iron to medium‑heat mode without steam, press firmly for 25‑35 seconds on every section.
- Let it cool naturally for 20‑30 minutes before testing adhesion.
- Do not wash the garment within 48 hours after installation.
2. How to Install Sew‑On Patches
- Pin the patch in place to prevent shifting during sewing.
- Choose matching‑color thread and use running‑stitch or blanket‑stitch along patch edges.
- Keep stitches 3‑4 mm away from the border to avoid damaging embroidered threads.
- Tie tight knots on back side and cut excess thread after finishing.
3. How to Install Velcro Patches
- Sew loop‑side Velcro onto your vest, bag or jacket in advance.
- Clean the surface of loop fabric to remove dust and lint.
- Press hook‑side patch firmly onto the loop area for 10‑15 seconds.
- Test firmness by pulling gently; re‑sew loop side if it gets loose.
Part 4: Washing‑Resistance Level Ranking
- Sew‑On: Level 5 (Highest). Can withstand countless machine‑wash cycles.
- Velcro: Level 4. Detach patches before washing clothes to maintain long‑term adhesion.
- Iron‑On: Level 2‑3. Lasts 5‑15 washes under cold‑water gentle‑wash mode only.

Part 5: Best‑Fit Scenarios for Each Backing
Choose Iron‑On If:
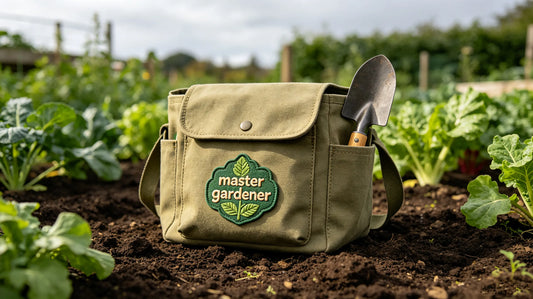
- Casual hoodies, denim jackets, hats and daily‑use backpacks.
- Small‑scale DIY projects without sewing tools.
- Short‑term use such as party costumes and holiday‑themed outfits.
- Budget‑friendly retail‑ready patches for resale customers.
Choose Sew‑On If:
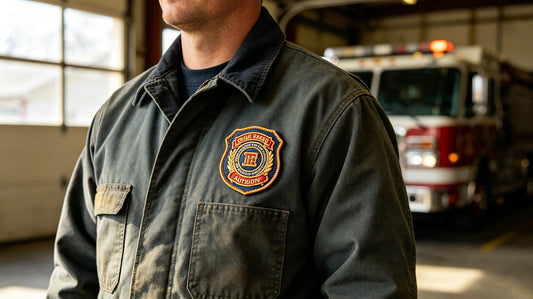
- School uniforms, corporate work uniforms and motorcycle vests.
- Leather jackets, thick canvas and high‑friction outdoor gear.
- High‑wash‑frequency clothes that need years‑long service life.
- Formal emblems where reliability is the top priority.
Choose Velcro If:
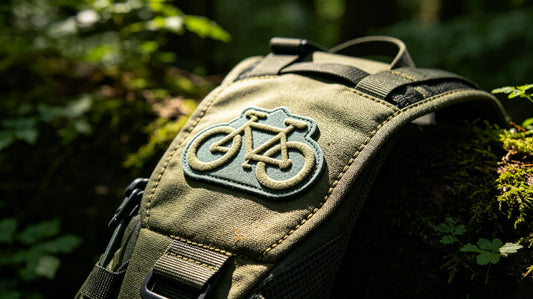
- Tactical vests, hiking backpacks and military‑style outfits.
- Club souvenir patches and personal collection‑grade patches.
- Users want to swap different patches for different occasions.
- Team members need to remove patches before washing their gears.
Part 6: Backing Not‑Recommended Combinations
- Iron‑on + PVC rubber patches: Hot‑melt glue can hardly stick to rubber, easy to peel quickly.
- Velcro + formal school uniforms: Detachable design looks informal against dress‑code requirements.
- Iron‑on + leather jackets: High heat damages leather surface and ruins expensive outerwear.
- Sew‑on + ultra‑thin close‑fit shirts: Stitches will cause uncomfortable rubbing against skin.

Part 7: Common Mistakes to Avoid
- Applying steam while ironing patches → steam weakens hot‑melt glue and causes early peeling.
- Using Velcro for fixed‑logo uniforms → destroys neat and official visual effect.
- Washing iron‑on patched clothes within two days after installation → glue does not fully solidify.
- Using partial Velcro for oversized patches → uneven pressure leads to sagging and deformation.
- Skipping pinning before sewing → patches shift and result in crooked final placement.
Part 8: Troubleshooting After Installation
Iron‑On Patch Peels Off
Solution: Re‑iron with heat‑press machine on higher temperature or switch to sew‑on backing for long‑term use.
Velcro Loses Stickiness
Solution: Clean lint from hook side with a small comb; replace old loop‑side Velcro if it wears out.
Sew‑On Thread Comes Loose
Solution: Reinforce edge stitches; use thicker polyester thread for outdoor heavy‑use patches.
Final Summary Core Rule
Sew‑on backing delivers permanent durability for uniforms and heavy‑use outerwear; iron‑on is convenient and budget‑friendly for casual daily‑wear; Velcro is your pick for detachable tactical and collectible patches. Match backing by fabric type, washing frequency and formality level to get ideal long‑term results.
Frequently Asked Questions
Q1: Which backing lasts the longest?
A: Sew‑on backing is the most durable option for long‑term daily‑wear.
Q2: Can iron‑on patches be put into washing machines?
A: Only cold‑water gentle wash is allowed; hot‑water washing will make them fall off fast.
Q3: Are Velcro patches reusable?
A: Yes, Velcro patches can be detached and re‑attached hundreds of times.
Q4: Can PVC patches use iron‑on backing?
A: Not recommended, rubber material reduces the bonding effect of hot‑melt glue.
Tags:
Previous
Custom Metal Patches Guide | Craft Types, Pros & Cons, Installation & Premium Usage Scenarios
Next
Custom Patch Care & Washing Guide | How to Wash, Dry & Store Patches Without Peeling or Fading