Custom Patch Size Guide 2026 | Standard Dimensions by Placement & Design
Selecting the correct patch size is one of the most critical yet overlooked steps in custom patch design. Many orders result in disappointing finished products not due to bad artwork, but improper sizing: oversized patches bulge, wrinkle, or restrict movement; undersized patches lose fine text, blur logos, and look weak on apparel.
Each placement (hat, chest, sleeve, backpack, full jacket back) has strict industry standard dimensions. Additionally, different patch materials (embroidery, woven, sublimation, PVC) have unique minimum size and detail limits.
This 2026 complete patch size guide breaks down standard universal sizes for every garment placement, material-specific minimum sizing rules, how size affects pricing and clarity, and professional tricks to pick the perfect dimension for any custom patch project.

1. How Custom Patch Sizing Is Measured
All custom patch manufacturers follow the same measurement rule: Patch size = maximum width × maximum height of the finished die‑cut shape.
For irregular, shield, curved, or custom silhouettes, suppliers measure the outer bounding box of the patch.
- Round patches are measured by diameter
- Square patches use equal width/height dimensions
- Irregular shapes use the widest and tallest outer points
Important note: Always design your artwork to fit the ordered size. Do not expect factories to enlarge or stretch your design after submission.
2. Universal Standard Patch Sizes By Placement (Industry Benchmark)
These are the most commonly used, customer‑approved sizes for all apparel and gear placements.
Hat & Cap Patches (Front Panel / Side Panel)
- Standard Front Hat Patch: 2.0” – 3.0”
- Trucker/Snapback optimal size: 2.5” × 2.0”
- Small side logo patch: 1.5” – 2.0” Hats have curved limited panel space. Patches over 3” will warp, bubble, or fail to lay flat.
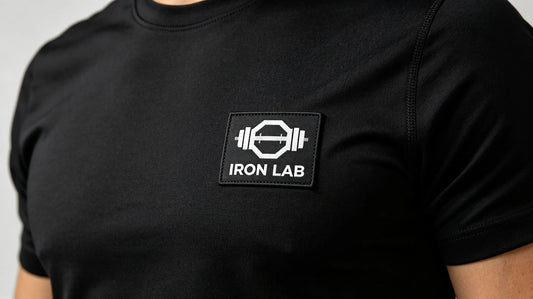
Chest Patches (Shirts, Hoodies, Jackets)
- Most popular standard size: 3.0” – 3.5”
- Minimal brand logos: 2.5” – 3.0”
- Large chest emblems: 3.5” – 4.0” This size range delivers perfect visibility without overwhelming the garment.
Sleeve Patches (Uniforms, Jerseys, Jackets)
- Standard sleeve size: 2.0” – 3.0”
- Flag/mini insignia: 1.5” – 2.0” Sleeve fabric stretches and bends; oversized sleeve patches will wrinkle and peel.
Collar & Cuff Patches
- Ultra‑small mini patches: 1.0” – 1.5” Only simple bold logos work here — fine text is not feasible.
Backpack & Bag Patches
- Medium decorative patches: 4.0” – 5.0”
- Large feature patches: 5.0” – 6.0” Bags allow larger sizing and multiple patch layering.
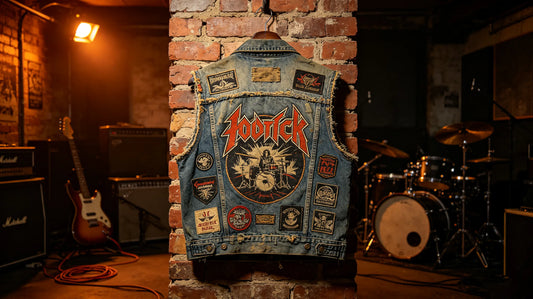
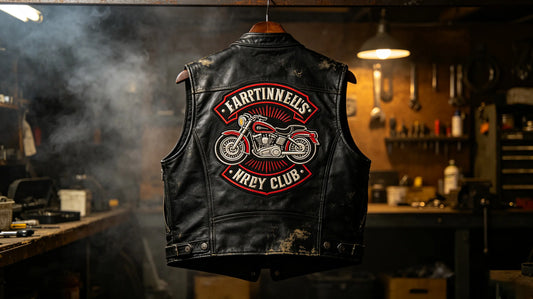
Full Jacket Back Patches (Biker Vests, Streetwear)
- Standard back patch: 8.0” – 10.0”
- Large premium back design: 10.0” – 12.0” Back panels offer maximum space for detailed murals, club crests, and large artwork.
Name Tape & Uniform ID Patches
- Standard rectangular name patch: 1.0” × 3.0” – 1.25” × 3.5”

3. Material‑Specific Minimum Size & Detail Limits
Different patch types cannot handle the same tiny dimensions. Follow these hard rules to avoid blurred or unreadable results:
Embroidered Patches
- Minimum safe full detail size: 2.5”
- Minimum readable text height: 0.24” (6mm)
- Avoid complex artwork below 2.5” — stitches merge and blur
3D Puff Embroidery
- Minimum size: 3.0”
- Minimum text height: 0.31” (8mm) 3D foam requires larger bold elements to retain shape.
Woven Patches
- Best for small precise designs
- Minimum clean detail size: 1.5”
- Minimum text height: 0.16” (4mm) Fine micro detail possible even on mini patches
Sublimation Patches
- Minimum photo detail size: 1.5”
- Preserves gradients and tiny text at smaller sizes
PVC Rubber Patches
- Minimum molded detail size: 2.5”
- Minimum text height: 0.28” (7mm) Thick rubber molding requires bolder design elements
4. Size & Quality Relationship: Why Bigger Is Often Better
Many customers opt for small patches to save cost, but this often backfires:
- Small embroidered patches lose spacing, text clarity, and logo definition
- Crowded tiny designs merge into solid blobs after production
- Larger patches showcase artwork details, color separation, and texture
Rule of thumb: If your design includes 3+ lines of text or complex icons, order 3” or larger for guaranteed clarity.

5. Size & Pricing Logic
Custom patch pricing is primarily based on total patch area:
- Small patches (1–2.5”): Lowest base price but high detail failure rate
- Standard patches (3–4”): Best balance of cost, quality, and visibility
- Large patches (5”+): Higher per‑unit cost due to more material and production time
- Oversized back patches (8”+): Premium pricing due to longer machine run time
Repeating designs scale cheaper in bulk, regardless of size.
6. Common Sizing Mistakes to Avoid
Ordering Too Small For Detailed Artwork
Complex logos, portraits, multi‑line text cannot shrink down to 2” patches without quality loss.
Oversized Hat Patches
Anything over 3” on hat fronts will bubble, lift edges, and fail to contour with the curve.
Ignoring Material Minimum Limits
Using 3D or PVC for tiny designs guarantees merged text and ruined details.
Blindly Copying Other Patch Sizes
Every logo has different complexity. A 3” simple logo looks great, while a 3” busy logo looks messy.
Forgetting Border Safety Margin
Merrow borders consume edge space — size up slightly if your design is tight to the perimeter.

7. Pro Sizing Checklist Before Ordering
- Confirm your exact placement (hat/chest/sleeve/back)
- Match the standard size range for that location
- Check if your patch material supports your chosen dimension
- Scale your artwork to exact ordered size on screen
- Print a 1:1 paper test patch and hold it on your garment
- Enlarge slightly if text or details look cramped
Final Thoughts
Custom patch sizing is a precise balance of placement space, design complexity, and material limitations. Standard 3”–3.5” patches remain the most versatile, safe, and popular size for nearly all logo and branding projects.
Always prioritize clarity over saving money on smaller sizes. By following placement standards and material minimum rules, you eliminate blurry, cramped, or ill‑fitting patches and ensure your finished badges look clean, professional, and perfectly proportioned on every garment.

FAQ
Q: What is the most common custom patch size?
A: 3.0 – 3.5 inches is the universal standard for chest logos, uniforms, and general apparel patches.
Q: What size patch fits best on a hat?
A: 2.5” – 3.0” is ideal for most snapback and trucker hat front panels.
Q: Can detailed logos work on 2 inch patches?
A: Only woven or sublimation patches work at 2”. Embroidery and PVC will lose critical detail.
Q: How big should a jacket back patch be?
A: Standard back patches range from 8” to 10”, with large custom designs up to 12”.
Q: Does patch size affect durability?
A: Yes. Overly small patches have tighter, compressed stitching; properly sized patches maintain better structure and wear longer.
Tags:
Previous
Woven Patches 2026 | Ultra Fine Detail Custom Woven Patch Guide
Next
Custom Patch Washing & Care Guide 2026 | Keep Patches From Fading & Peeling