Custom Patch Size vs Price Guide | How Dimensions Affect Quotation, Hidden Cost & Budget Tips
When calculating custom patch prices, many buyers only focus on craft types and color numbers while ignoring the decisive factor: patch size. In professional patch factory pricing logic, size determines 60% of the final cost, because larger patches require more raw materials, longer machine running time, higher labor cost and larger packaging volume. Blindly pursuing oversized patches leads to serious budget waste, while overly small sizes ruin recognition. This guide reveals transparent size pricing rules for all mainstream crafts and shares practical tricks to save money via reasonable dimension adjustment.
Custom 3D embroidered patches provides free professional size optimization suggestions for all custom orders, balancing perfect visual effect and the most economical budget.

Part 1: Universal Size Pricing Logic For All Patch Crafts
1. Material Consumption Cost Increases With Size
The larger the patch area, the more twill fabric, embroidery thread, liquid PVC rubber and weaving yarn are consumed. Unlike fixed design fees, material cost increases linearly according to patch area expansion.
2. Machine Runtime Multiplies For Large Sizes
Embroidery and woven machines charge by stitching time; oversized patterns require several times longer running time than standard medium patches, directly raising labor and machine loss cost.
3. Higher Defect Rate For Extra-Large Patches
Oversized patches are more likely to wrinkle, shift or deform during high-temperature pressing and washing, resulting in higher factory QC rejection rate, which indirectly increases unit quotation.
4. Shipping & Packaging Cost Rises
Large-size patches require larger carton space, increase gross weight, and generate higher international shipping fees for bulk orders.

Part 2: Craft-Specific Size Pricing Differences
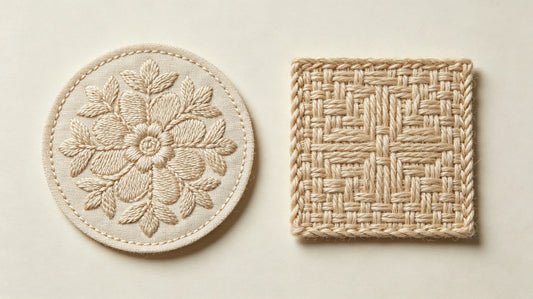
Embroidered Patches
- Price grows steadily with inch increase; every 1-inch area expansion adds obvious thread consumption
- Patches over 6 inches enter high-price tier due to longer stitching cycles
- Simple logo large-size embroidery has controllable cost; complex detailed large embroidery surges sharply
Woven Patches
- Mini size (1–2 inch) has stable low unit price with best cost performance
- Woven price rises rapidly beyond 5 inches due to loom tension adjustment and fabric waste
- Woven is not cost-effective for oversized solid color designs compared with embroidery
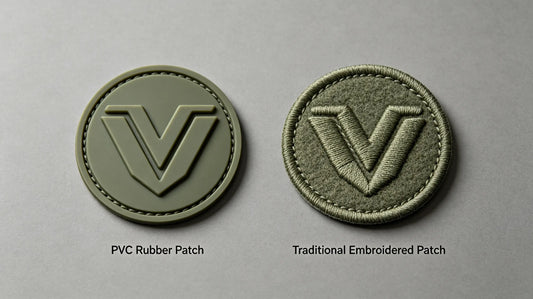
PVC Rubber Patches
- Size directly determines mold cavity area and raw rubber filling volume
- Below 3 inches: flat stable low price range
- Over 4 inches: material and mold polishing cost significantly increase
- Extra-large PVC patches easily deform, requiring thickening reinforcement and extra cost

Part 3: Most Cost-Effective Golden Size Range (Best Budget Zone)
2.5″ – 4″ (Universal Golden Size)
This dimension range applies to 90% of team logos, chest emblems, hat patches and sleeve marks.
- Lowest defect rate in production
- Moderate material consumption
- Fastest production speed
- Balanced visual recognition and budget
This is the factory-recommended most cost-performance size interval.
Below 2.5″ (Ultra-Small Low-Budget Zone)
Ultra-low unit price, suitable for collar labels, mini hat side marks and subtle decoration; limited design content capacity.
Above 6″ (High-Cost Oversized Zone)
Premium visual impact but significantly increased cost, only recommended for key visual back patches and high-end merch.
 Part 4: Smart Size Adjustment Tips To Save Budget (No Quality Loss)
-
Trim redundant blank margin
Many designs have large empty background space; cutting excess margin reduces overall size without changing logo display effect, greatly lowering unit cost.
-
Avoid blind oversized upgrade
Chest and sleeve patches do not need oversized dimensions; standard golden size fully meets daily recognition needs.
-
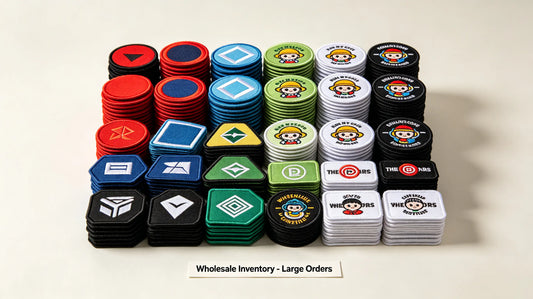
Unify patch size for bulk team orders
Uniform size mass production enjoys higher batch discount than mixed random sizes.
-
Compress over-scaled decorative elements
Shrink exaggerated outer borders and redundant decorative patterns to reduce overall patch area.
Part 5: Common Size & Budget Mistakes To Avoid
- Custom 6″+ large patches for small chest positions → serious budget waste with no visual improvement
- Retain large blank background on patch design → pay extra cost for useless empty fabric area
- Pursue oversized patches for ordinary team uniforms → greatly increase total order cost
- Use ultra-small size for complex multi-detail logos → unclear pattern and ruined finished quality

Final Summary Core Rule
2.5–4 inch golden size = best cost-performance; oversized = sharp cost increase; redundant blank space = invisible budget waste; trim margins first before increasing size; match size according to wearing position to balance appearance and cost.
Reasonable size control is the simplest and most effective way to optimize patch order budget.
Frequently Asked Questions
Q1: Does larger patch size mean much higher price?
A: Yes, patch size is the top factor affecting unit price via material and machine runtime cost.
Q2: What is the most cost-effective patch size for most custom orders?
A: 2.5 to 4 inches is the universal golden size with balanced quality and budget.
Q3: Can trimming blank margins reduce patch cost?
A: Definitely yes, removing useless empty background shrinks overall size and lowers quotation.
Q4: Are oversized patches more expensive to ship?
A: Yes, larger volume and weight increase international shipping and packaging cost.
Tags:
Previous
Custom Patch Reorder Guide | File Archiving, Reorder Discounts, Color Consistency & Repeat Order Tips
Next
Custom Patch Thread Color Limit Guide | Unavailable Colors, Gradient Restrictions & Alternative Solutions