Custom Leather Patches 2026 | The Complete Buying, Design & Care Guide
Custom leather patches are one of the most popular premium branding solutions for hats, denim jackets, leather vests, backpacks and workwear. Unlike bright embroidered patches, leather patches deliver a timeless, rugged, vintage‑inspired aesthetic with a durable, smooth surface that ages beautifully over time.
Many first‑time buyers are confused by material choices between genuine leather and faux PU leather, logo‑making methods such as laser engraving or embossing, and which backing type works safely on leather without heat damage. Without correct knowledge, you can accidentally damage expensive garments or receive patches that do not match your vision.
This detailed 2026 guide covers materials, design techniques, attachment options, common mistakes, installation steps and long‑term maintenance for your custom leather patches.

1. Genuine Leather VS PU Faux Leather Patches
Two primary leather materials are used for custom patches, each with distinct appearance, durability, price and aging behavior.
Genuine Leather Patches
‑ Made from natural animal hide ‑ Unique grain texture: No two leather patches will look exactly identical ‑ Develops natural patina, darkens and softens with wear for a vintage look ‑ Higher price point ‑ Very tough, tear‑resistant and long‑lasting ‑ Best suited for premium brand apparel, motorcycle vests, high‑end hats and limited‑run merchandise
PU Faux Leather (Synthetic Leather) Patches
‑ Man‑made polyurethane material, zero animal products ‑ Uniform, consistent surface texture across every patch ‑ Will not develop natural patina ‑ Lower‑cost budget‑friendly alternative ‑ Good water resistance ‑ Vegan‑friendly, perfect for brands requiring animal‑free accessories ‑ Ideal for large bulk orders, casual clothing and promotional goods
2. Four Popular Logo Techniques for Leather Patches
You cannot create traditional thread embroidery on leather patch surfaces. These four methods are used to add your artwork, text and logos.
Laser Engraving
Lasers burn artwork into the leather surface, creating dark, precise marks. Engraving delivers sharp, fine details, tiny text and complex graphic designs. Works great on both genuine and PU leather. Dark‑colored leather creates high‑contrast light‑toned logos, while light leather patches show deep‑dark engraved marks.
Embossing (Debossing)
Heat and metal stamps press your logo into leather, creating indented sunken artwork without removing material. Embossed logos have a subtle, elegant, tactile finish. This method works best with bold shapes; very thin small text may lose definition during stamping.
Hot‑Stamped Foil Printing
Metallic gold, silver, copper or colored foil is heat‑pressed onto leather. This creates shiny, eye‑catching premium logos, perfect for luxury‑style branding. Foil can scratch if exposed to heavy surface friction.
Screen Printing
Permanent ink printed flat onto the leather face. Best for bright, multi‑color graphic designs. Printed leather patches are prone to gradual wear‑off on high‑friction areas.

3. Backing & Attachment Options for Leather Patches
Sew‑on backing is strongly recommended for nearly all leather patch projects. Heat‑based attachment methods carry major risks.
Sew‑On (Highly Recommended)
Stitch around the patch edge by hand or sewing machine. Sewing creates a permanent, safe bond, no heat damage risk to your jacket, hat or leather goods. This is the industry‑standard installation method.
Iron‑On / Heat‑Seal (Limited Use Only)
Iron‑on adhesive can be added to PU synthetic leather patches only on low‑heat settings. Genuine natural leather must never use iron‑on backing. Household iron heat can scorch, shrink, harden or permanently ruin real leather fabric. Sew‑on remains the safest long‑term solution.
Hook‑and‑Loop (Velcro)
Sew the loop‑side tape onto your garment and the hook‑side to your leather patch. This creates fully removable leather patches, great for tactical gear and rotating badge collections. Leather patches with velcro backing are thicker and heavier than embroidered velcro patches.
4. Best Garments & Fabrics for Leather Patches
Highly Recommended
‑ Baseball caps, trucker hats ‑ Denim jackets, jeans and canvas workwear ‑ Cotton hoodies, flannel shirts ‑ Nylon backpacks, duffel bags ‑ Leather vests and leather jackets (always sew‑on)
Fabrics To Avoid
‑ Ultra‑thin stretch spandex clothing: Stretching stress can tear leather stitching loose ‑ Delicate silk fabrics: Heavy leather patches pull and damage lightweight material ‑ Heat‑sensitive vinyl‑coated outerwear: High heat from iron‑on glue melts surface coatings

5. Step‑by‑Step Sew‑On Installation Instructions
Sewing is the most reliable installation method, follow these simple steps:
- Position your leather patch on your hat, jacket or bag and pin securely in place. Use thin safety pins, avoid large pin holes on premium leather goods.
- Select heavy‑duty polyester thread matching your patch edge color.
- Stitch slowly around the outer border of your leather patch. Use a short, tight stitch length.
- For thick, rigid leather patches, use a heavy‑weight leather needle on your sewing machine.
- Tie strong knots on the inside of your garment and trim loose threads.
6. Washing, Cleaning & Long‑Term Leather Patch Care
Leather material behaves differently than embroidered thread, so special laundry rules apply.
- Whenever possible, turn your garment inside‑out before washing.
- Use cold water and gentle wash cycles, avoid hot water. Hot water hardens genuine leather.
- Air‑dry only. Never tumble‑dry leather patched clothing with high heat. Dryer heat will crack, shrink or warp leather.
- Do not scrub directly on the leather patch surface. Harsh friction will wear engraved, foil or printed logos.
- Genuine leather patches can be conditioned occasionally with leather conditioner wax to keep the surface soft and prevent cracking. Skip conditioner on printed or foil logo areas.
- Do not dry‑clean leather‑patched garments unless your dry‑cleaner confirms safe leather treatment.

7. Common Leather Patch Mistakes to Avoid
- Trying to iron‑on genuine leather patches: High heat causes permanent leather damage
- Adding extremely tiny fine text for embossed logos: Small details will blur during stamping
- Machine‑washing leather patched items on heavy‑duty hot cycles: Leather will harden and crack
- Choosing printed logos for high‑wear locations such as hat brims: Surface ink will wear away quickly
- Skipping edge stitching on large heavy leather patches: Un‑stitched corners will curl upward over time
8. Popular Project Ideas for Custom Leather Patches
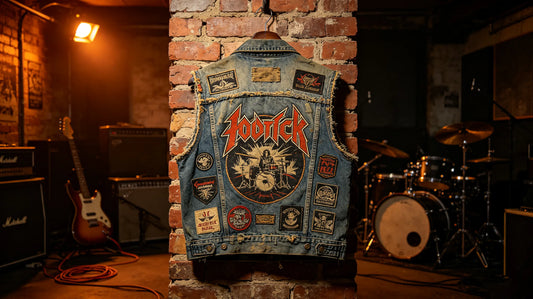
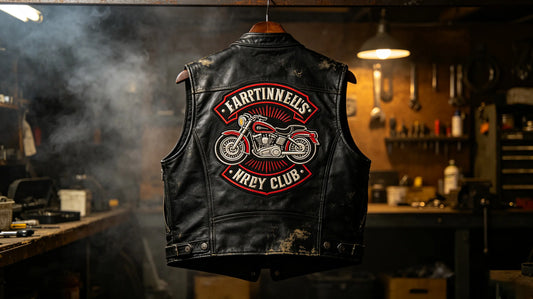
‑ Brand logo patches for clothing lines, small‑business apparel branding ‑ Motorcycle club leather vest badges ‑ Trucker hat custom name patches ‑ Gifts, souvenirs and anniversary keepsake patches ‑ Uniform identification patches for outdoor workers, farm crews and craft teams

Final Thoughts
Custom leather patches deliver a rugged, timeless premium aesthetic unlike traditional embroidered patches. When ordering, take time to choose between genuine natural leather or vegan‑friendly PU faux leather, and select engraving, embossing or foil‑stamping for your logo artwork.
For safe, long‑lasting attachment, always pick sew‑on backing for genuine leather patches, and follow cold‑wash, air‑dry care rules. With correct installation and gentle maintenance, leather custom patches will remain durable and look fantastic for many years.
FAQ
Q: Can I iron‑on a genuine leather patch to my leather jacket?
A: No. Household iron heat can scorch, shrink, or harden natural leather. Sew‑on attachment is always recommended.
Q: What logo method gives the sharpest fine details on leather patches?
A: Laser engraving produces the cleanest, most precise results for small text and complex graphics.
Q: Will genuine leather patches crack over time?
A: With proper cold‑water washing, air‑drying and occasional leather conditioning, genuine leather remains flexible. Hot‑heat drying is the top cause of leather cracking.
Q: Are PU faux‑leather patches vegan‑friendly?
A: Yes, synthetic PU leather contains zero animal‑derived materials, making it a great vegan patch option.
Q: Can leather patches be removed after sewing?
A: Yes, you can carefully cut and unpick the stitching threads, though small pin marks may remain on your garment fabric.
Tags:
Previous
Hook and Loop Patches 2026 | The Complete Removable Velcro Patch Guide
Next
Woven Patches 2026|Ultimate Guide to High‑Detail Woven Custom Patches